Trophies5432
Highest Trophies5433
Exp Level39
3 VS 3 Victories111
Solo Victories214
Duo Victories155
Best Brawler
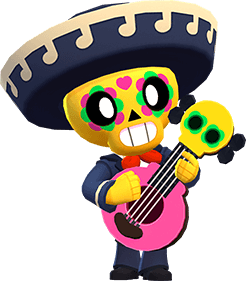
Jacky*Current + Highest
Trophies
Current Trophies385
Highest Trophies385
Trophies from last 12 ranked battles: +50
See Battle Log
Battle Log
ShowdownSkull Creek
+2
ShowdownSafety Center
-3
ShowdownSafety Center
+9
ShowdownSafety Center
+10
ShowdownSafety Center
0
ShowdownSafety Center
+8
KnockoutBelle's Rock
0
HeistKaboom Canyon
0
HeistHot Potato
0
Hot ZoneDueling Beetles
0
Hot ZoneRing of Fire
0
Gem GrabLast Stop
0
HeistBridge Too Far
0
Hot ZoneRing of Fire
0
Brawl BallPinball Dreams
0
HeistKaboom Canyon
0
Brawl BallTriple Dribble
0
Gem GrabLast Stop
0
Hot ZoneParallel Plays
0
BountySlayer's Paradise
-4
BountySlayer's Paradise
+8
BountySlayer's Paradise
+8
Gem GrabUndermine
-4
Gem GrabUndermine
+8
Gem GrabUndermine
+8
Recent Brawlers
From 25 recent battles
Poco
Win Rate: 62.5%
Pick Rate: 32%

Darryl
Win Rate: 100%
Pick Rate: 16%

Bull
Win Rate: 66.67%
Pick Rate: 12%

Jessie
Win Rate: 100%
Pick Rate: 8%
Rico
Win Rate: 50%
Pick Rate: 8%

Dynamike
Win Rate: 50%
Pick Rate: 8%
Jacky
Win Rate: 100%
Pick Rate: 4%
Gus
Win Rate: 100%
Pick Rate: 4%

Shelly
Win Rate: 100%
Pick Rate: 4%

Carl
Win Rate: 0%
Pick Rate: 4%
Brawlers 23/91
Trophies