Trophies3695
Highest Trophies3939
Exp Level29
3 VS 3 Victories204
Solo Victories243
Duo Victories12
Best Brawler
Chester*Current + Highest
Trophies

Current Trophies574
Highest Trophies818
Trophies from last 14 ranked battles: -3
See Battle Log
Battle Log
ShowdownFeast or Famine
+6
ShowdownFeast or Famine
-4
ShowdownFeast or Famine
+4
ShowdownFeast or Famine
-9
ShowdownFeast or Famine
-7
ShowdownFeast or Famine
-4
ShowdownFeast or Famine
0
ShowdownFeast or Famine
+2
ShowdownFeast or Famine
0
ShowdownFeast or Famine
+2
ShowdownFeast or Famine
+5
Gem GrabMinecart Madness
+1
Gem GrabMinecart Madness
0
HeistKaboom Canyon
+1
Hot ZoneController Chaos
+1
Hot ZoneController Chaos
0
ShowdownSkull Creek
+10
ShowdownSkull Creek
+1
Recent Brawlers
From 19 recent battles
Chester
Win Rate: 53.33%
Pick Rate: 78.95%
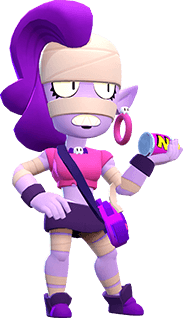
Emz
Win Rate: 50%
Pick Rate: 10.53%
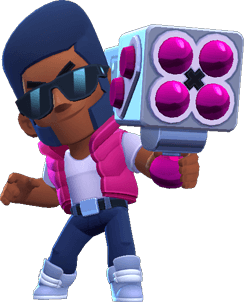
Brock
Win Rate: 50%
Pick Rate: 10.53%
Brawlers 21/91
Trophies