Trophies4083
Highest Trophies4105
Exp Level39
3 VS 3 Victories459
Solo Victories25
Duo Victories55
Best Brawler
Barley*Current + Highest
Trophies

Current Trophies524
Highest Trophies546
Trophies from last 24 ranked battles: +123
See Battle Log
Battle Log
ShowdownThe Mortuary
+3
ShowdownThe Mortuary
-3
ShowdownThe Mortuary
+8
ShowdownThe Mortuary
-3
ShowdownThe Mortuary
+8
ShowdownThe Mortuary
+6
ShowdownThe Mortuary
-2
Brawl BallHairdryer Treatment
+8
Brawl BallHairdryer Treatment
-3
BountyHeat Wave
+8
BountyHeat Wave
+8
Hot ZoneTemple of Boom
+8
Hot ZoneTemple of Boom
+8
BountyShooting Star
+8
BountyShooting Star
-3
BountyShooting Star
+8
Hot ZoneMosh Pit
+8
Hot ZoneMosh Pit
+8
Hot ZoneMosh Pit
+8
Hot ZoneMosh Pit
0
Hot ZoneMosh Pit
+8
Hot ZoneMosh Pit
+8
Hot ZoneMosh Pit
+8
Gem GrabDouble Swoosh
+8
Recent Brawlers
From 24 recent battles

Nita
Win Rate: 55.56%
Pick Rate: 37.5%

Squeak
Win Rate: 80%
Pick Rate: 20.83%

Darryl
Win Rate: 75%
Pick Rate: 16.67%

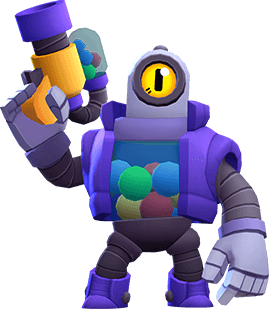
Tick
Win Rate: 100%
Pick Rate: 12.5%
Rico
Win Rate: 100%
Pick Rate: 8.33%

Colt
Win Rate: 100%
Pick Rate: 4.17%
Brawlers 17/91
Trophies