Trophies3397
Highest Trophies3454
Exp Level41
3 VS 3 Victories204
Solo Victories89
Duo Victories41
Best Brawler
Shelly*Current + Highest
Trophies

Current Trophies500
Highest Trophies624
Battle Log
KnockoutMiddle Ground
+1
BountyShooting Star
+1
BountyShooting Star
0
Brawl BallPenalty Kick
+1
PayloadDrawback
+1
PayloadDrawback
0
PayloadDrawback
0
PayloadDrawback
0
Basket BrawlBall Hog
+1
Basket BrawlBall Hog
0
HeistBridge Too Far
+1
HeistBridge Too Far
0
UnknownNuts & Bolts
+1
UnknownNuts & Bolts
0
Hot ZoneTemple of Boom
+1
Gem GrabMinecart Madness
+1
Duo ShowdownDouble Trouble
0
Duo ShowdownDouble Trouble
+1
Duo ShowdownDouble Trouble
0
Duo ShowdownDouble Trouble
0
Duo ShowdownDouble Trouble
0
Duo ShowdownDouble Trouble
0
Duo ShowdownSafety Center
+1
Duo ShowdownSafety Center
+1
Brawl BallSuper Beach
0
Recent Brawlers
From 25 recent battles
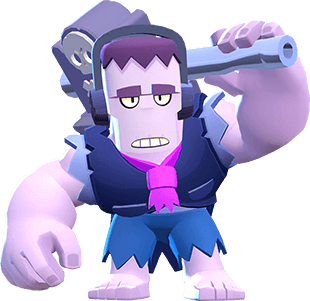
Frank
Win Rate: 25%
Pick Rate: 16%
Bea
Win Rate: 66.67%
Pick Rate: 12%
Tara
Win Rate: 66.67%
Pick Rate: 12%

Gale
Win Rate: 33.33%
Pick Rate: 12%

El Primo
Win Rate: 100%
Pick Rate: 8%

Darryl
Win Rate: 50%
Pick Rate: 8%
Max
Win Rate: 100%
Pick Rate: 4%
Penny
Win Rate: 100%
Pick Rate: 4%
Jacky
Win Rate: 100%
Pick Rate: 4%
Rico
Win Rate: 0%
Pick Rate: 4%
Gene
Win Rate: 0%
Pick Rate: 4%
Carl
Win Rate: 0%
Pick Rate: 4%

Dynamike
Win Rate: 0%
Pick Rate: 4%

Barley
Win Rate: 0%
Pick Rate: 4%
Brawlers 27/91
Trophies