Trophies2028
Highest Trophies2028
Exp Level24
3 VS 3 Victories105
Solo Victories64
Duo Victories57
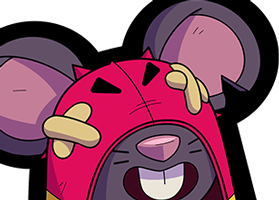
Best Brawler
Moe*Current + Highest
Trophies
Current Trophies783
Highest Trophies837
Trophies from last 25 ranked battles: +145
See Battle Log
Battle Log
Duo ShowdownFeast or Famine
+10
Gem GrabHard Rock Mine
+8
ShowdownFeast or Famine
+2
Gem GrabHard Rock Mine
+9
Gem GrabHard Rock Mine
+8
Gem GrabHard Rock Mine
-2
Gem GrabHard Rock Mine
-2
Gem GrabHard Rock Mine
+12
Gem GrabHard Rock Mine
+11
Gem GrabHard Rock Mine
+10
Gem GrabHard Rock Mine
+9
Gem GrabHard Rock Mine
+8
Hot ZoneOpen Business
-2
Hot ZoneOpen Business
-2
Hot ZoneOpen Business
+13
Hot ZoneOpen Business
+12
Hot ZoneOpen Business
+11
Hot ZoneOpen Business
+10
Hot ZoneOpen Business
+9
Hot ZoneOpen Business
+8
KnockoutGoldarm Gulch
-1
KnockoutGoldarm Gulch
-5
KnockoutGoldarm Gulch
-1
ShowdownDried Up River
+2
Recent Brawlers
From 25 recent battles

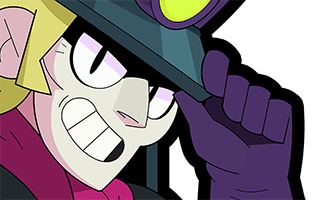
Colt
Win Rate: 72.73%
Pick Rate: 44%

Chuck
Win Rate: 70%
Pick Rate: 40%

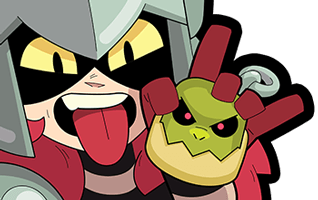
Ollie
Win Rate: 100%
Pick Rate: 12%
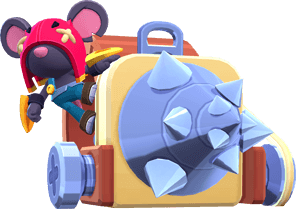
Moe
Win Rate: 0%
Pick Rate: 4%
Brawlers 25/91
Trophies