Trophies638
Highest Trophies630
Exp Level10
3 VS 3 Victories21
Solo Victories25
Duo Victories0
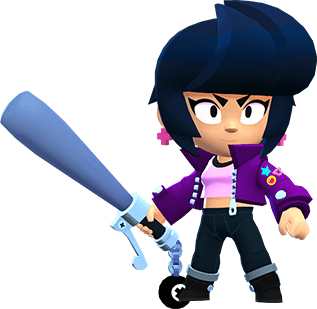
Best Brawler
Nita*Current + Highest
Trophies

Current Trophies205
Highest Trophies205
Trophies from last 25 ranked battles: +321
See Battle Log
Battle Log
Brawl BallPenalty Kick
+8
ShowdownSkull Creek
+13
ShowdownSkull Creek
+3
ShowdownSkull Creek
+15
ShowdownSkull Creek
+15
ShowdownSkull Creek
+15
ShowdownSkull Creek
+15
Hot ZoneOpen Zone
+13
Hot ZoneOpen Zone
+13
Hot ZoneOpen Zone
+13
Hot ZoneOpen Zone
+13
Hot ZoneOpen Zone
+13
Hot ZoneOpen Zone
+13
KnockoutFlowing Springs
+13
KnockoutFlowing Springs
+13
KnockoutFlowing Springs
+13
Gem GrabAcute Angle
+13
Gem GrabAcute Angle
+13
ShowdownFeast or Famine
+12
Hot ZoneDueling Beetles
+13
Brawl BallCenter Stage
+17
Brawl BallCenter Stage
+13
Brawl BallCenter Stage
+13
Brawl BallCenter Stage
+13
Brawl BallCenter Stage
+13
Recent Brawlers
From 25 recent battles
Bibi
Win Rate: 100%
Pick Rate: 56%
Nita
Win Rate: 100%
Pick Rate: 28%

Barley
Win Rate: 100%
Pick Rate: 4%

Bo
Win Rate: 100%
Pick Rate: 4%

Darryl
Win Rate: 100%
Pick Rate: 4%

Buzz Lightyear (Wing Mode)
Win Rate: 100%
Pick Rate: 4%
Brawlers 21/91
Trophies