Trophies4287
Highest Trophies4287
Exp Level35
3 VS 3 Victories167
Solo Victories149
Duo Victories82
Best Brawler
Barley*Current + Highest
Trophies

Current Trophies400
Highest Trophies400
Trophies from last 6 ranked battles: +21
See Battle Log
Battle Log
ShowdownDouble Trouble
+2
ShowdownDouble Trouble
+6
ShowdownSkull Creek
+1
ShowdownSkull Creek
+8
Gem GrabGem Fort
-4
Gem GrabGem Fort
+8
Gem GrabMinecart Madness
+1
Gem GrabMinecart Madness
0
Gem GrabMinecart Madness
0
Gem GrabMinecart Madness
0
Gem GrabMinecart Madness
0
Gem GrabMinecart Madness
0
Recent Brawlers
From 12 recent battles

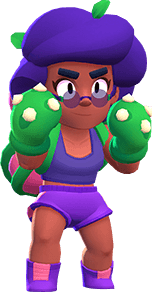
Sprout
Win Rate: 100%
Pick Rate: 25%

Darryl
Win Rate: 66.67%
Pick Rate: 25%
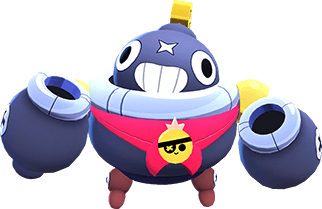
Tick
Win Rate: 0%
Pick Rate: 25%
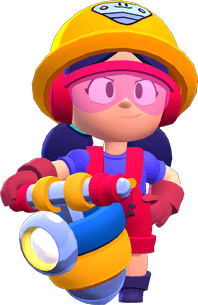
Jacky
Win Rate: 50%
Pick Rate: 16.67%
Rosa
Win Rate: 0%
Pick Rate: 8.33%
Brawlers 21/91
Trophies