Trophies5318
Highest Trophies5323
Exp Level35
3 VS 3 Victories532
Solo Victories7
Duo Victories40
Best Brawler
Larry & Lawrie*Current + Highest
Trophies

Current Trophies471
Highest Trophies473
Trophies from last 25 ranked battles: +74
See Battle Log
Battle Log
Hot ZoneSplit
+8
Hot ZoneSplit
-5
Hot ZoneSplit
-4
Hot ZoneSplit
-4
Hot ZoneSplit
+8
Hot ZoneSplit
-4
Hot ZoneSplit
+9
Hot ZoneSplit
+8
Hot ZoneSplit
-2
Hot ZoneSplit
+9
Hot ZoneSplit
+8
Hot ZoneSplit
-2
Hot ZoneSplit
+8
Hot ZoneSplit
-2
Hot ZoneSplit
-2
Hot ZoneSplit
+10
Gem GrabUndermine
+9
Gem GrabUndermine
+8
Gem GrabUndermine
-3
Gem GrabUndermine
+8
Gem GrabUndermine
-2
Gem GrabUndermine
-3
Gem GrabUndermine
-3
Gem GrabUndermine
+9
Gem GrabUndermine
+8
Recent Brawlers
From 25 recent battles

Dynamike
Win Rate: 60%
Pick Rate: 40%

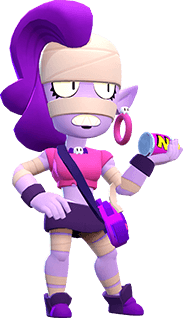
Tara
Win Rate: 50%
Pick Rate: 16%

Barley
Win Rate: 25%
Pick Rate: 16%
Emz
Win Rate: 100%
Pick Rate: 8%

Griff
Win Rate: 50%
Pick Rate: 8%
Larry & Lawrie
Win Rate: 50%
Pick Rate: 8%

Tick
Win Rate: 0%
Pick Rate: 4%
Brawlers 25/91
Trophies